

1. Choose “For my clients”
When you sign up, the first screen asks How will you use Aibuku? Choose For my clients. This sets your account up as an agency, so you can add as many clients as you like.2. Your agency
Next you see Your agency. If your agency has a website, type it under Agency website, tick I own this site, or I have the right to use its content., and choose Read my site. When the read is done, choose Continue. Aibuku shows your agency’s name and logo from the site: check them and choose Looks good. No agency website? Choose Skip, I don’t have an agency site.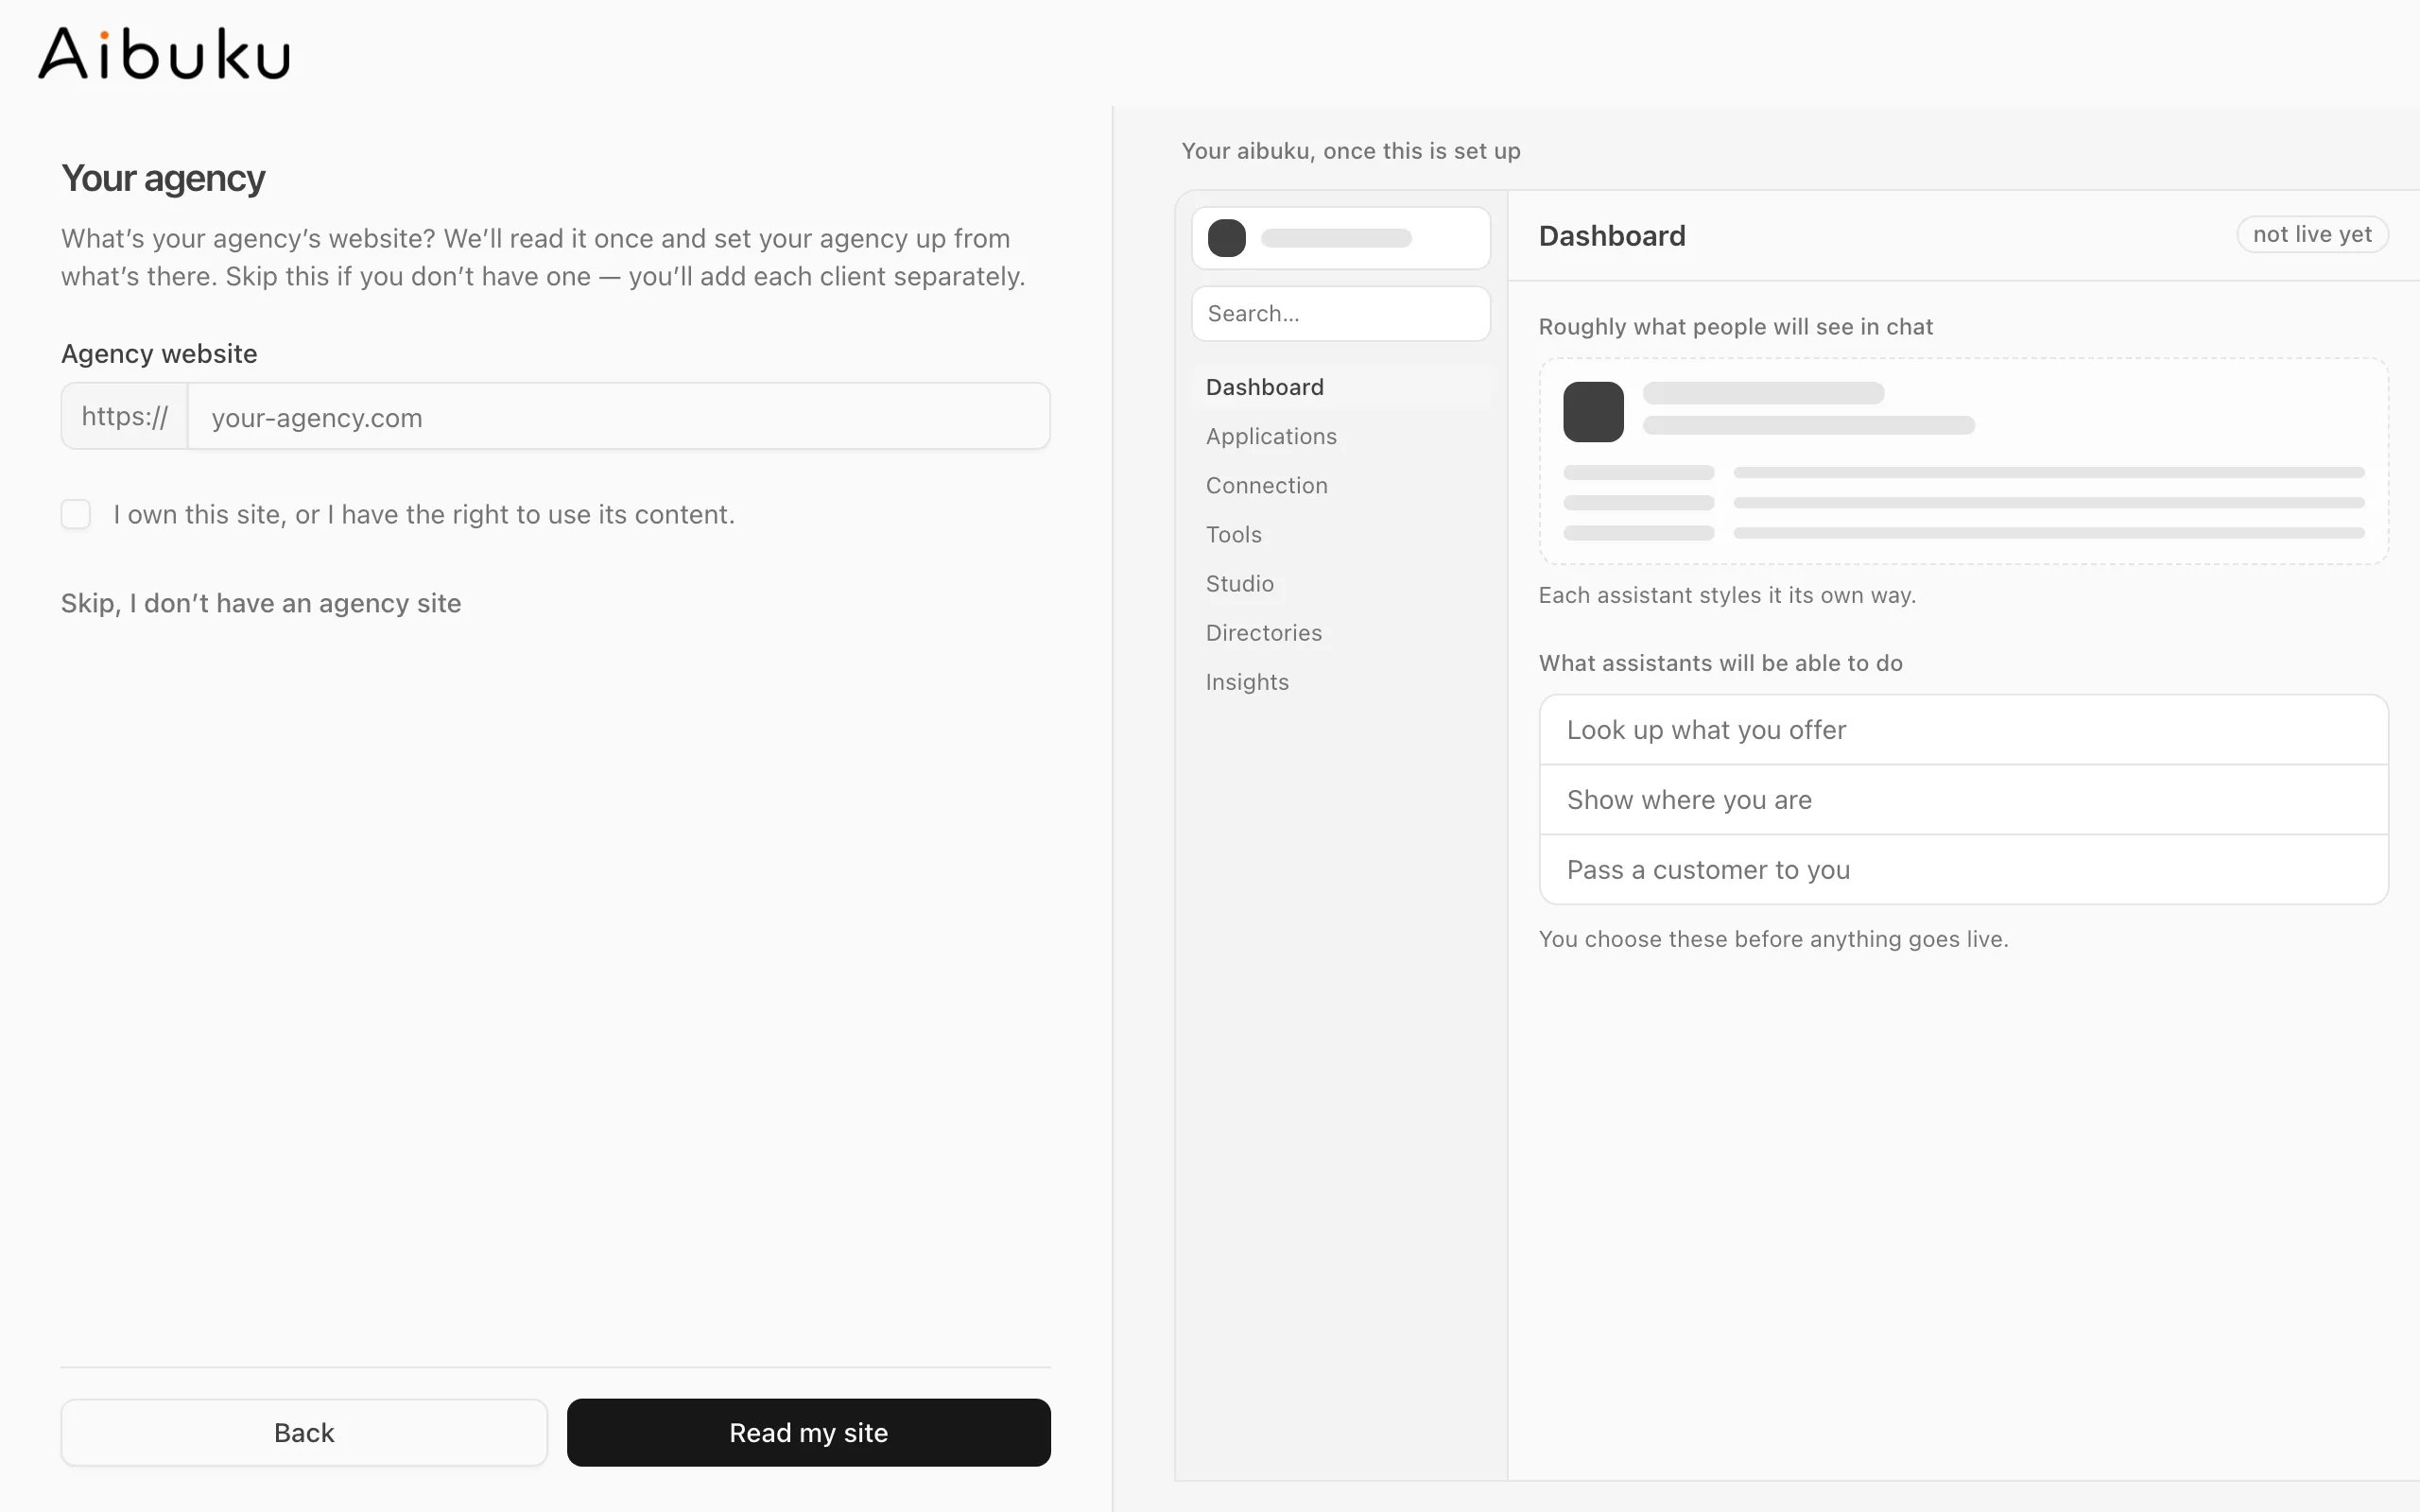
This step is about your agency, not a client. You set each client up separately, next.
3. Set up your first client
Your agency is set up — from here on, the work is per client. Under Now set up your first client, choose how to start: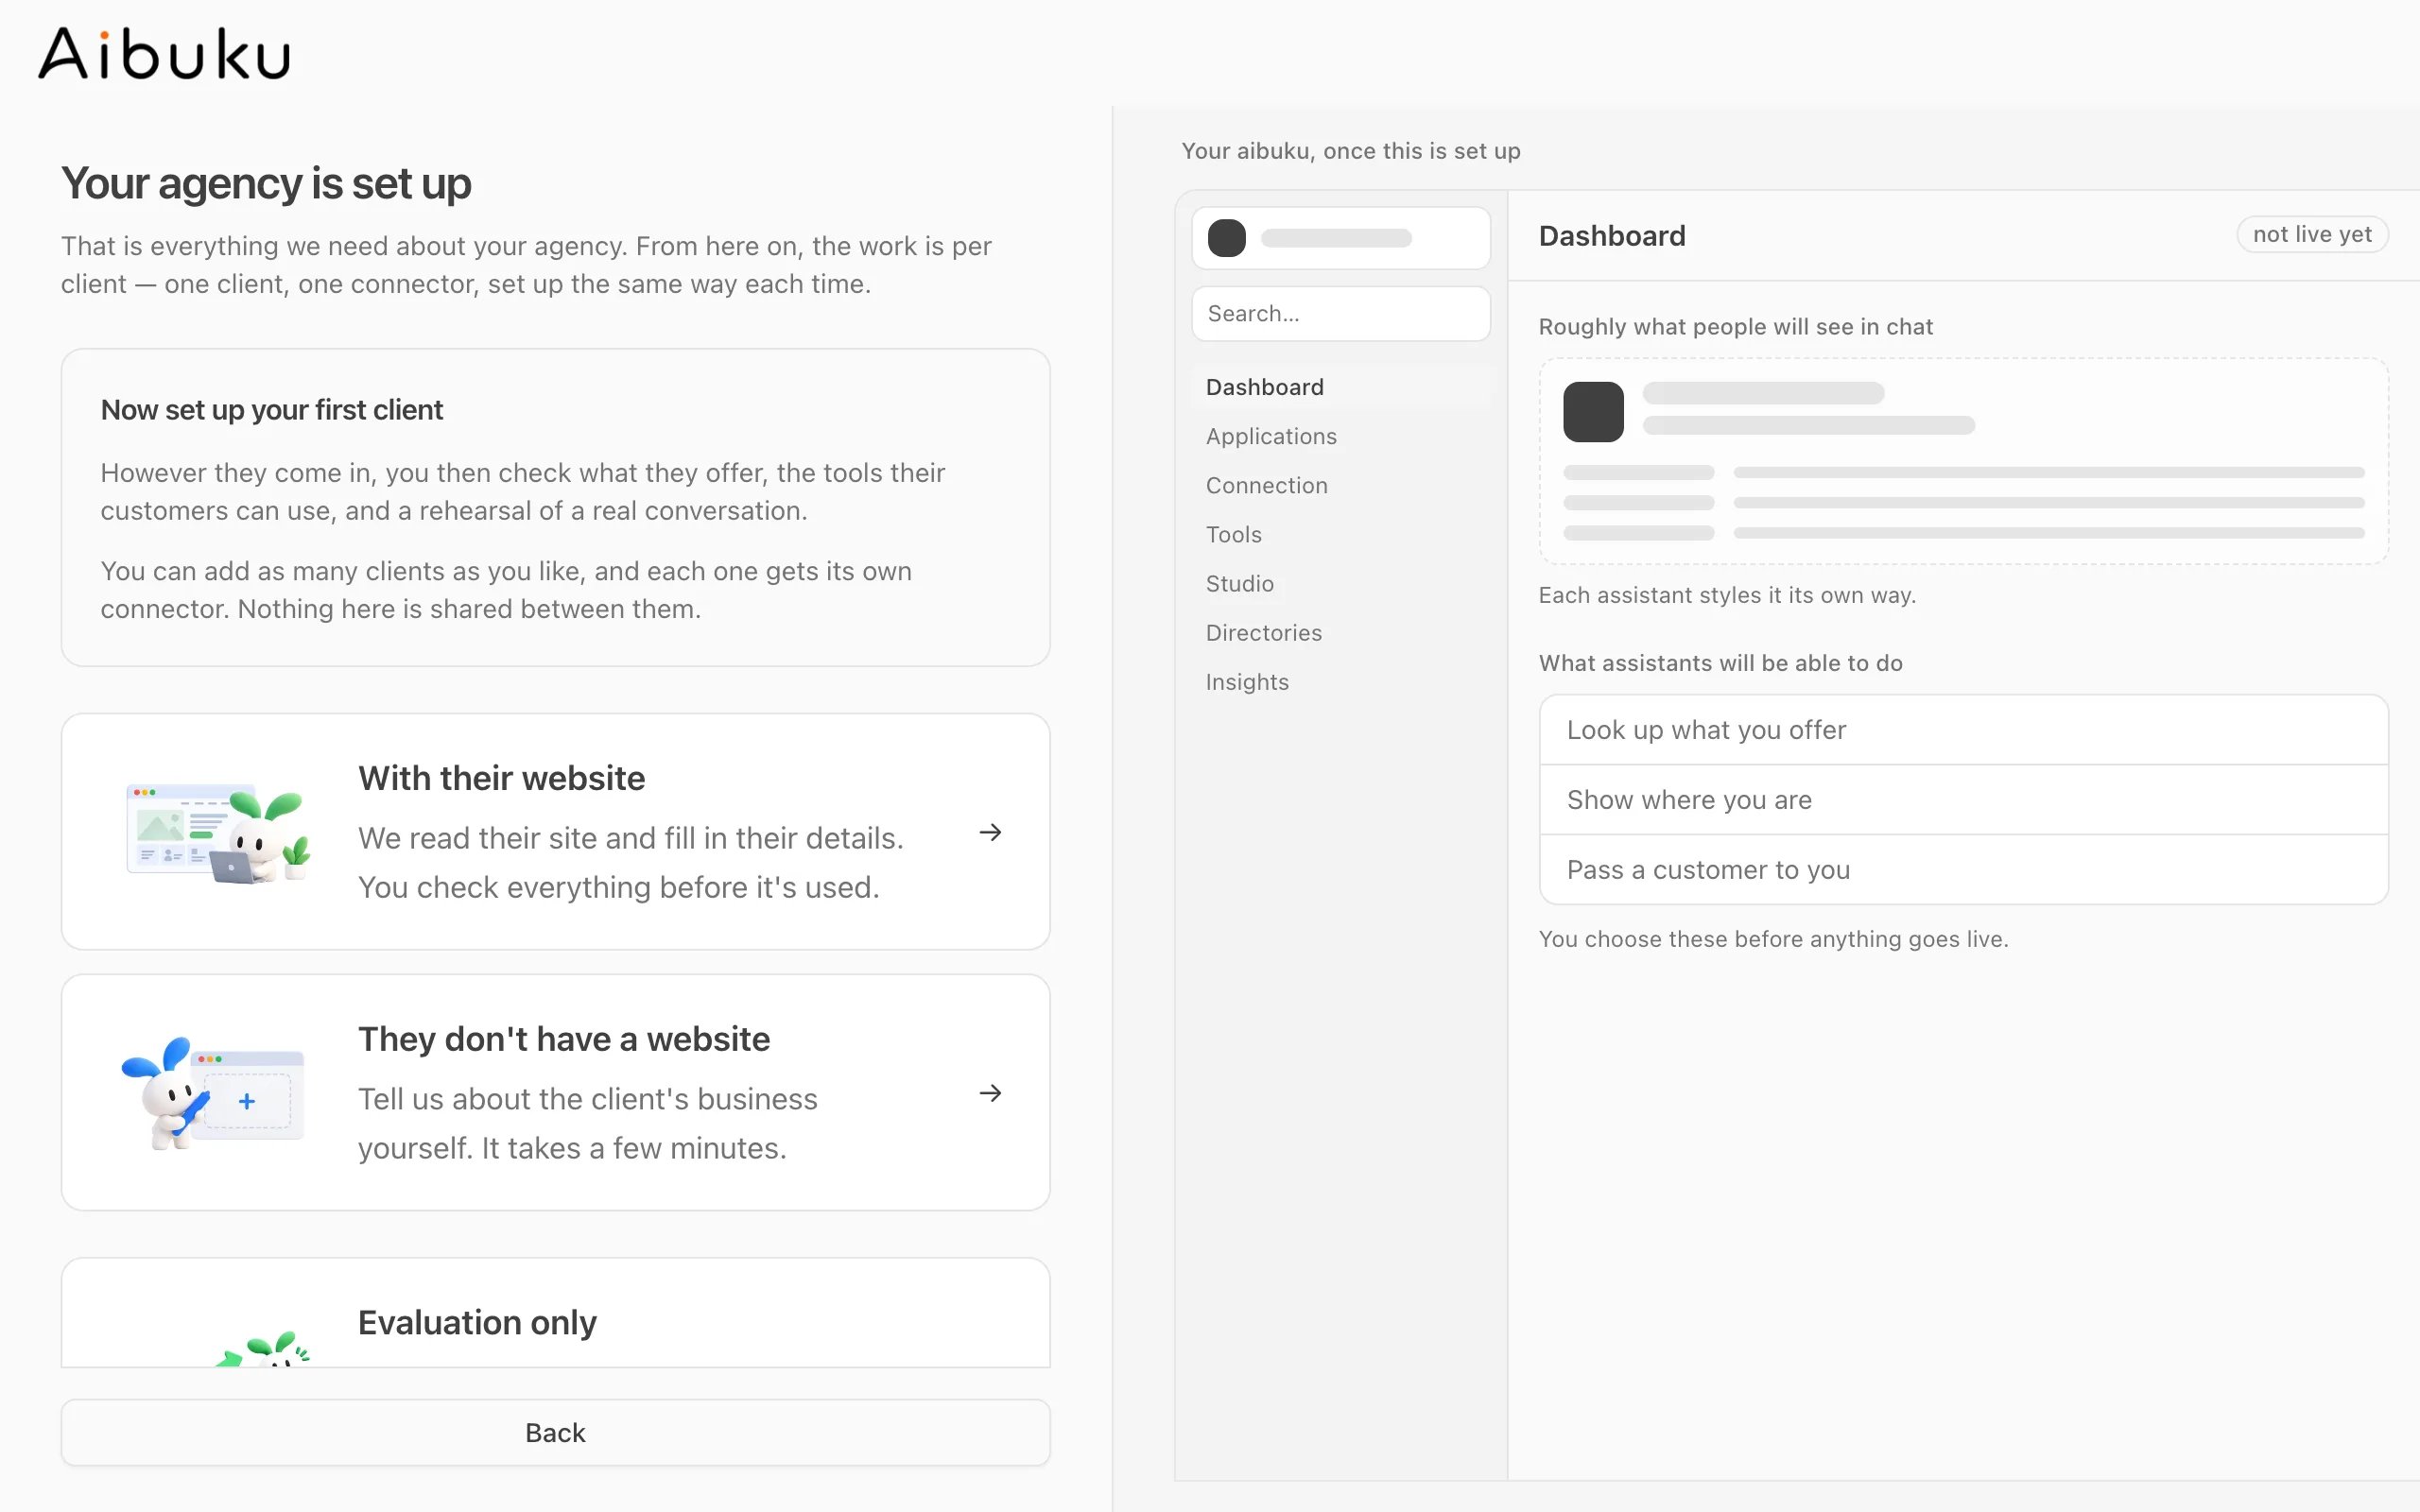
- With their website — Aibuku reads the client’s site and fills in their details. You check everything before it is used.
- They don’t have a website — you type the client’s details in yourself.
- Evaluation only — you only measure how assistants answer about this client. Nothing is built for their customers.